Annotations & Highlights
You finished a book last month. You remember loving a passage somewhere in chapter twelve — something about memory, or was it identity? You could almost quote it. Almost. That "almost" is the gap between reading and keeping what you read.
ScrollWizard gives you five highlight colors, two visual styles, free-form notes, bookmarks, a cross-book Marks list, and real export — Markdown out of the box, plus tool-shaped files for Obsidian, Notion, and Logseq. Everything in this guide is free — no annotation limits, no paywall after ten highlights, no premium tier for export. Your marginalia is yours from day one.
You don't need to read this whole guide before you start highlighting. Select text, pick a color, done. Everything else here is for when you're curious.
Creating a Highlight
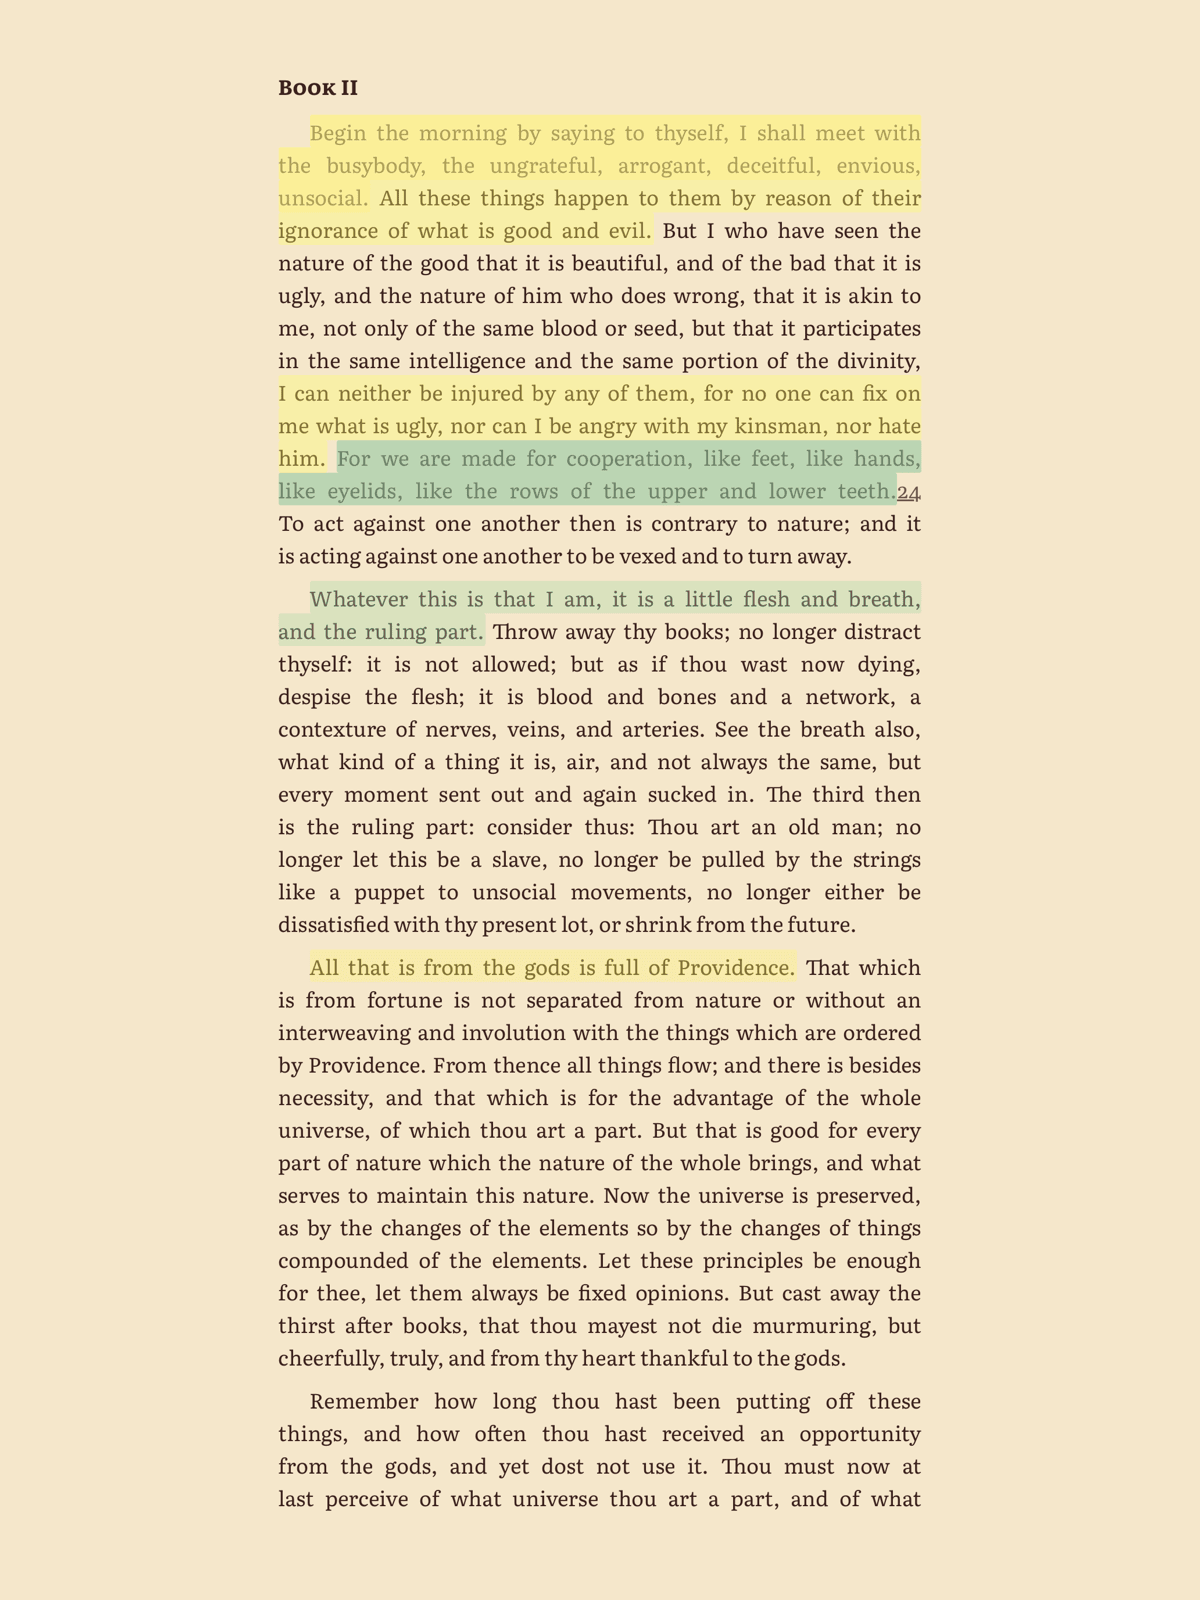
Drag your finger across a sentence that matters, and it stays marked — not just in the book, but in a place you can actually find it again.
- Long-press on a word in the reader, then drag the selection handles to cover the passage you want.
- A context menu appears with three options: Copy, Highlight, and Define.
- Tap Highlight. The selected text is instantly highlighted in yellow.
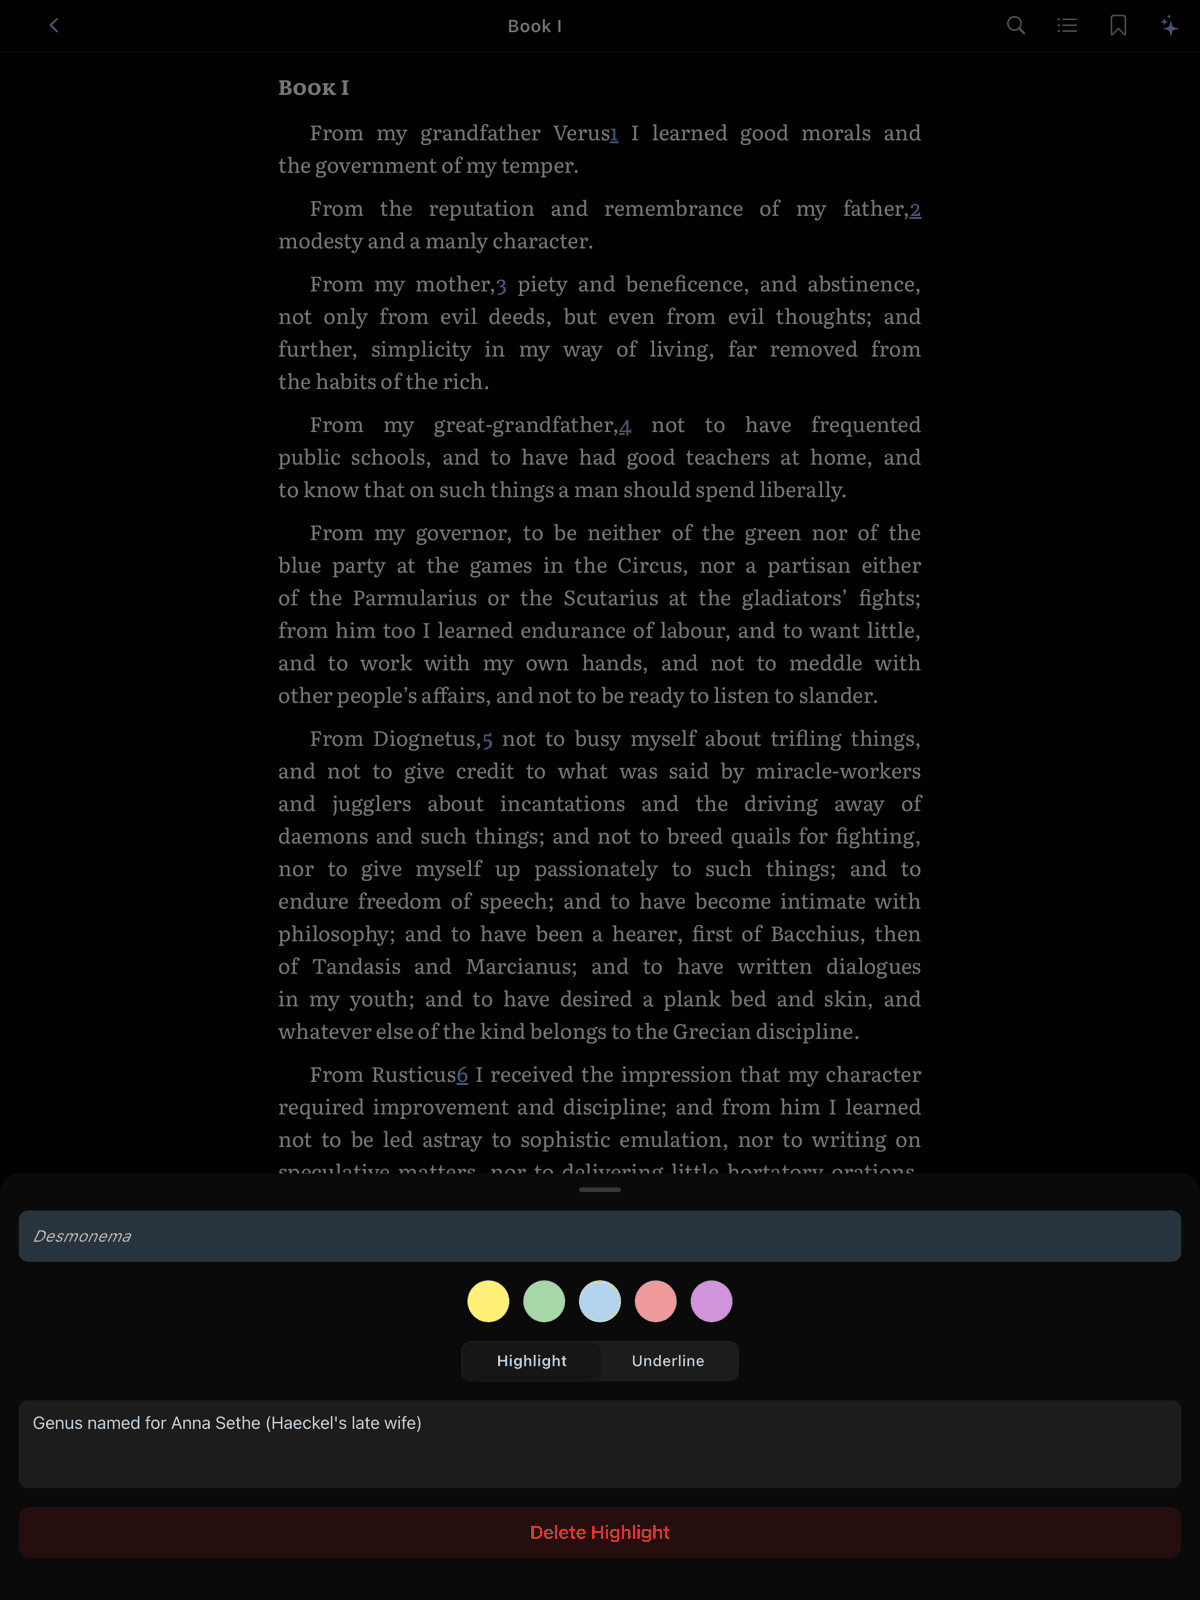
- The highlight edit sheet slides up from the bottom, where you can change the color, switch the visual style, and add a note.
That's it. Two taps and a drag. The edit sheet is optional — if yellow with no note is fine, just tap away to dismiss it and keep reading.
The Five Colors
Five highlight colors means five categories that make sense to you. The colors are named by color — Yellow, Green, Blue, Red, Purple (yellow is the default; tap to switch among the five fixed colors).
| Color | Suggested Use |
|---|---|
| Yellow | Key passages and main ideas |
| Green | Points you agree with or endorse |
| Blue | Terms and definitions worth remembering |
| Red | Things that raise questions or need revisiting |
| Purple | Action items or things to follow up on |
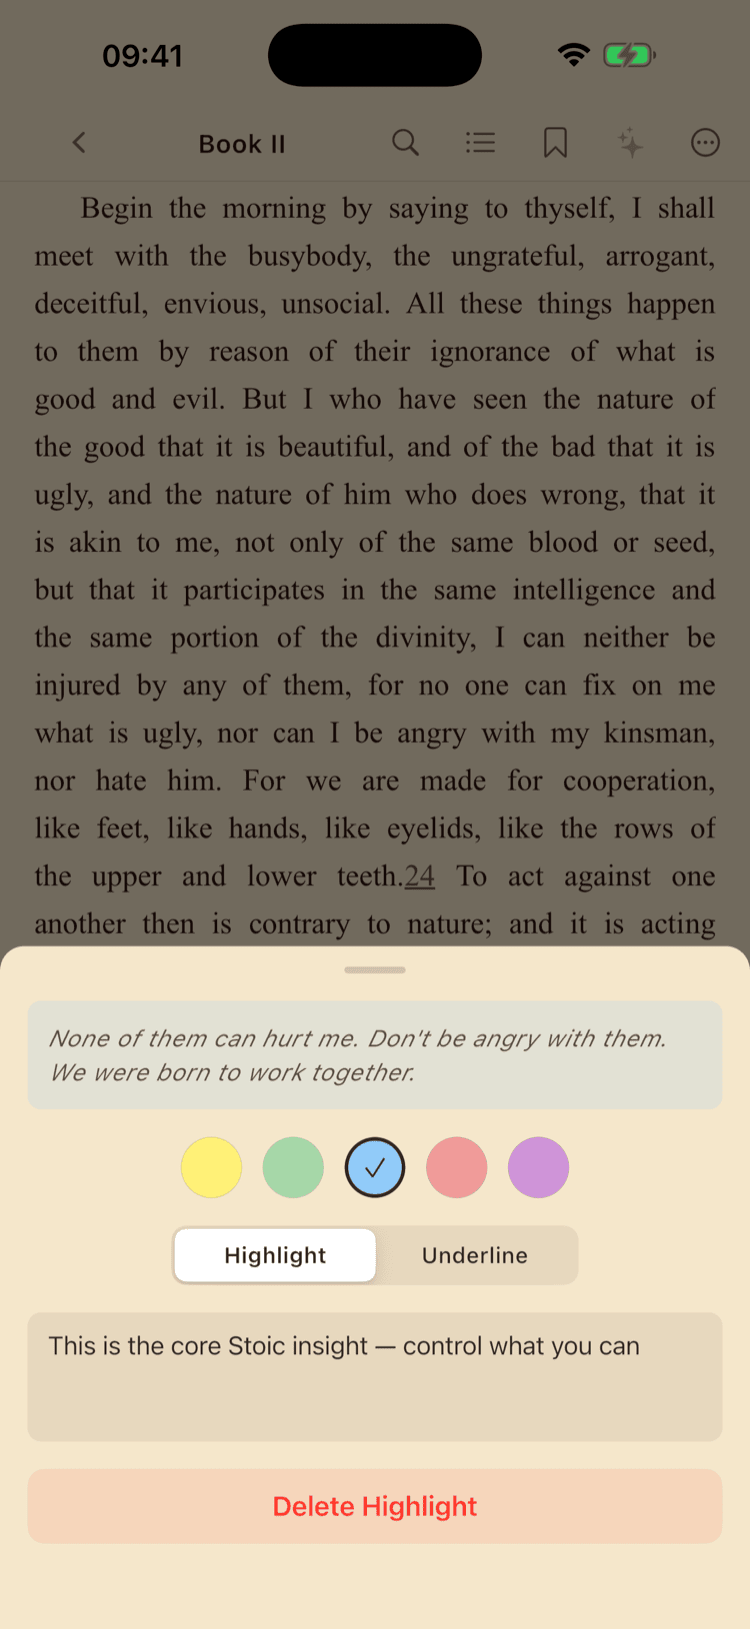
Tap any color circle in the edit sheet to switch. The selected color shows a checkmark. Your choice is saved immediately.
There's no wrong color. Some people use yellow for everything. Others build a strict system — green for ideas they agree with, red for things they want to challenge. One reader uses blue for "confused" and red for "angry at the author" — and that's a legitimate system. The table above is a suggestion, not a rulebook.
The payoff comes later. The Marks list (covered below) lets you filter by color across all your books. If you consistently mark questions in red, you can pull up every open question from everything you've ever read with a single tap.

Highlight vs. Underline
Every highlight can use one of two visual styles, toggled with the segmented control in the edit sheet.
Highlight fills the text background with a translucent wash of your chosen color. This is the most visible option and the default.
Underline draws a colored line beneath the text without filling the background. More subtle — good for marking something without obscuring the text around it.
You can switch styles at any time by tapping the highlight to reopen the edit sheet. The change renders immediately.
When to use underline: Dark reading themes. A yellow background highlight on a dark theme can look harsh. Underline preserves the color indicator while keeping the atmosphere intact. It's also useful when you're highlighting densely — if half the page is filled, background washes become visually noisy. Underlines stay clean.
Adding Notes
A highlight says "this matters." A note says why it matters — and your future self will thank you for the extra ten seconds.
The edit sheet includes a multi-line text field with an "Add a note..." placeholder. Type your thoughts, questions, or context below the highlighted passage.
Notes auto-save as you type. There's a brief delay before writing to the database (so it doesn't save on every keystroke), and any pending changes are flushed when you dismiss the sheet. You never need to tap a save button. You can close the book right after writing a note and it will be there next time.
To edit a note later, tap the highlight in the reader to reopen the edit sheet.
Your notes don't have to be clever. "I like this" is a perfectly good annotation. So is "huh." So is a single question mark. "Disagree — see Ch.4" is three words and enormously useful six months later. You're writing for yourself, not for publication. Write in fragments, shorthand, inside jokes with yourself. The point is to leave a trace of what you were thinking.

Bookmarks
Some pages you need to come back to before you've figured out why. A bookmark holds your place with no questions asked.
Adding a Bookmark
Tap the bookmark icon in the reader toolbar. The icon fills in to show the page is bookmarked. Tap it again to remove it — it's a toggle.
No confirmation dialog on either action. Bookmarks are cheap and fast. Use them liberally. Bookmark the chapter you're on before closing the app. Bookmark the index. Bookmark the page with the map. They cost nothing and save real time.
Viewing Bookmarks
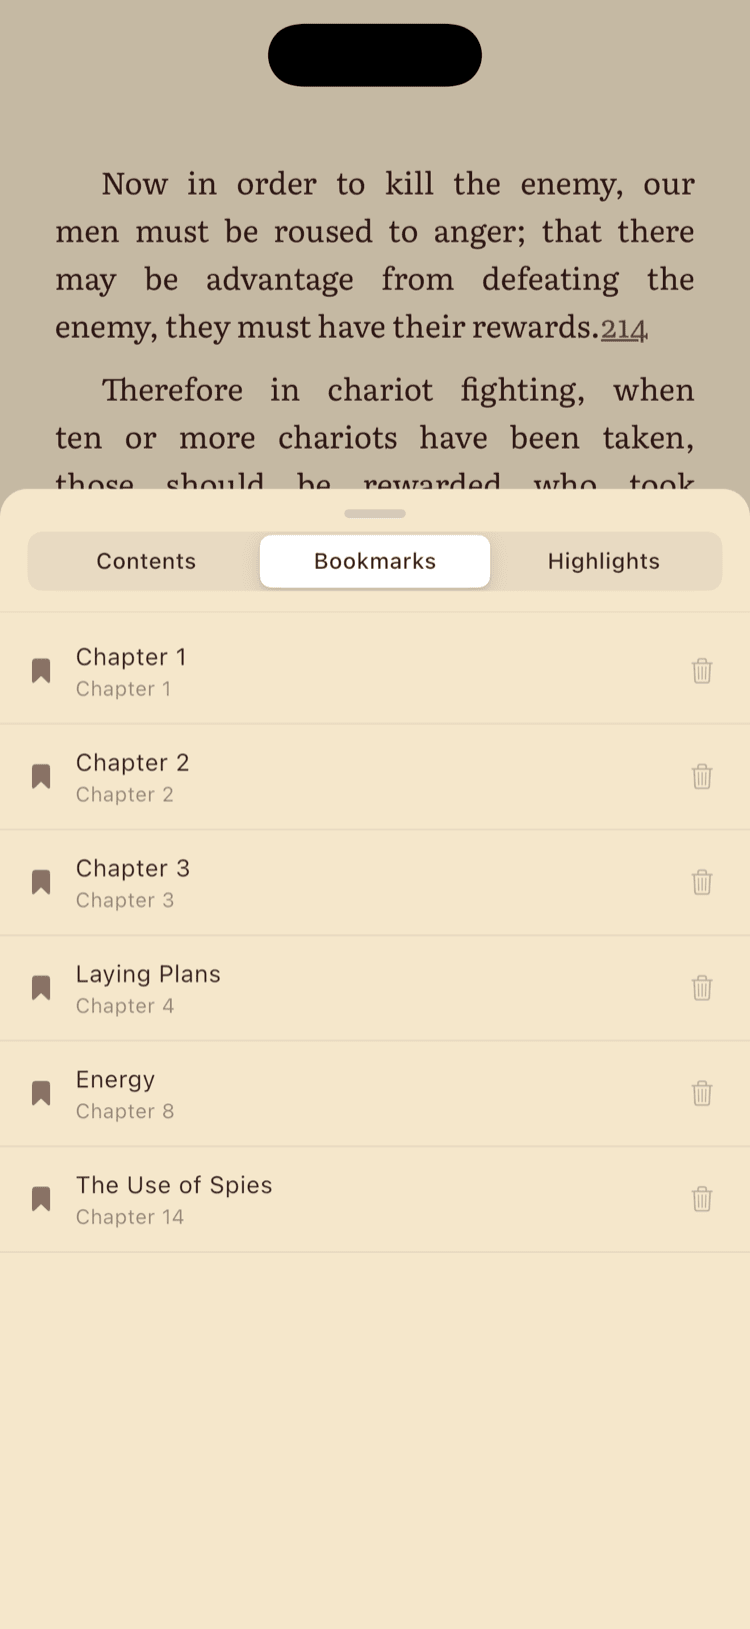
- Tap the Contents icon (the list button) in the reader toolbar to open the table-of-contents sheet.
- Switch to the Bookmarks tab. The sheet has three tabs across the top: Contents, Bookmarks, and Highlights.
- The tab lists all bookmarks for this book, sorted by page number.
- Tap any bookmark to jump there. Tap the trash icon to delete it.
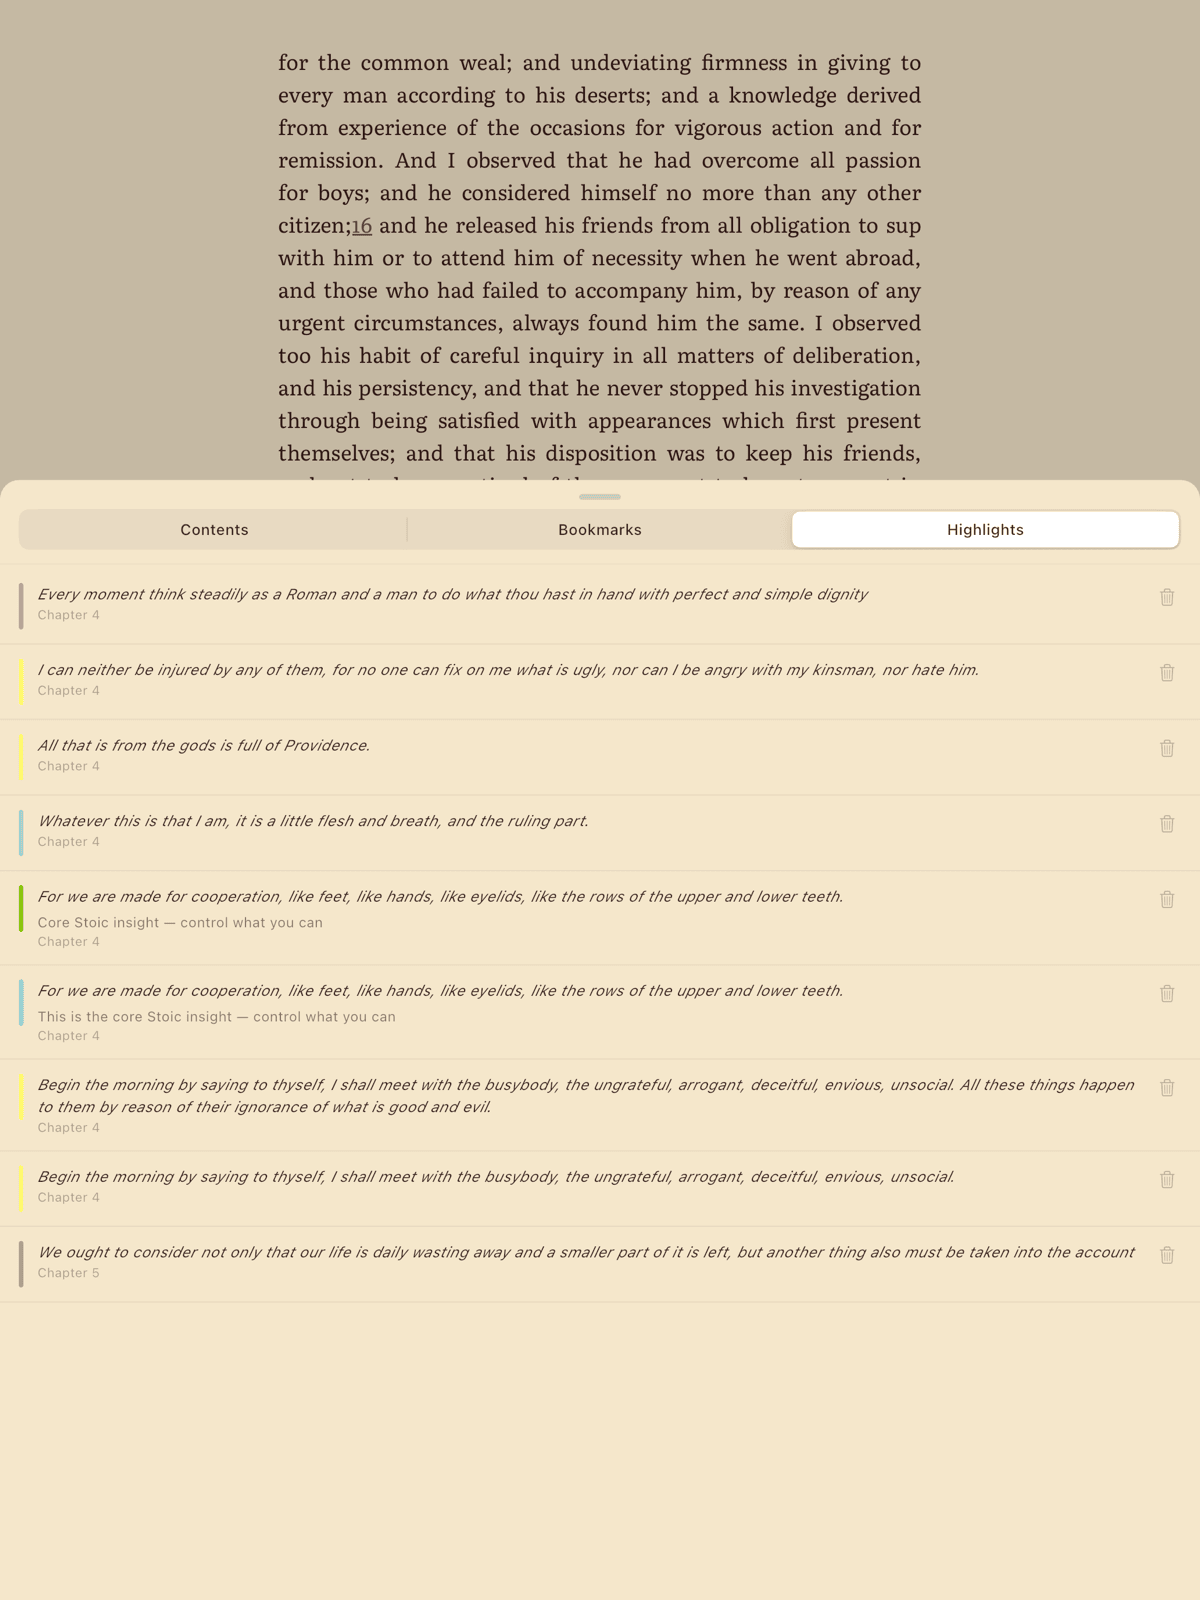
Browsing Highlights (Per-Book)
While reading, you can browse all highlights for the current book without leaving the reader — same sheet as bookmarks, just a different tab.
- Tap the Contents icon (the list button) in the reader toolbar.
- Switch to the Highlights tab.
- The tab lists all highlights for this book, sorted by chapter.
Each row shows a color bar on the left edge, the highlighted text (italic, up to 2 lines), a note preview if one exists, and a chapter reference. Tap any row to jump to that chapter. Tap the trash icon to delete.
This is your per-book view — quick and focused. For cross-book browsing, read on.
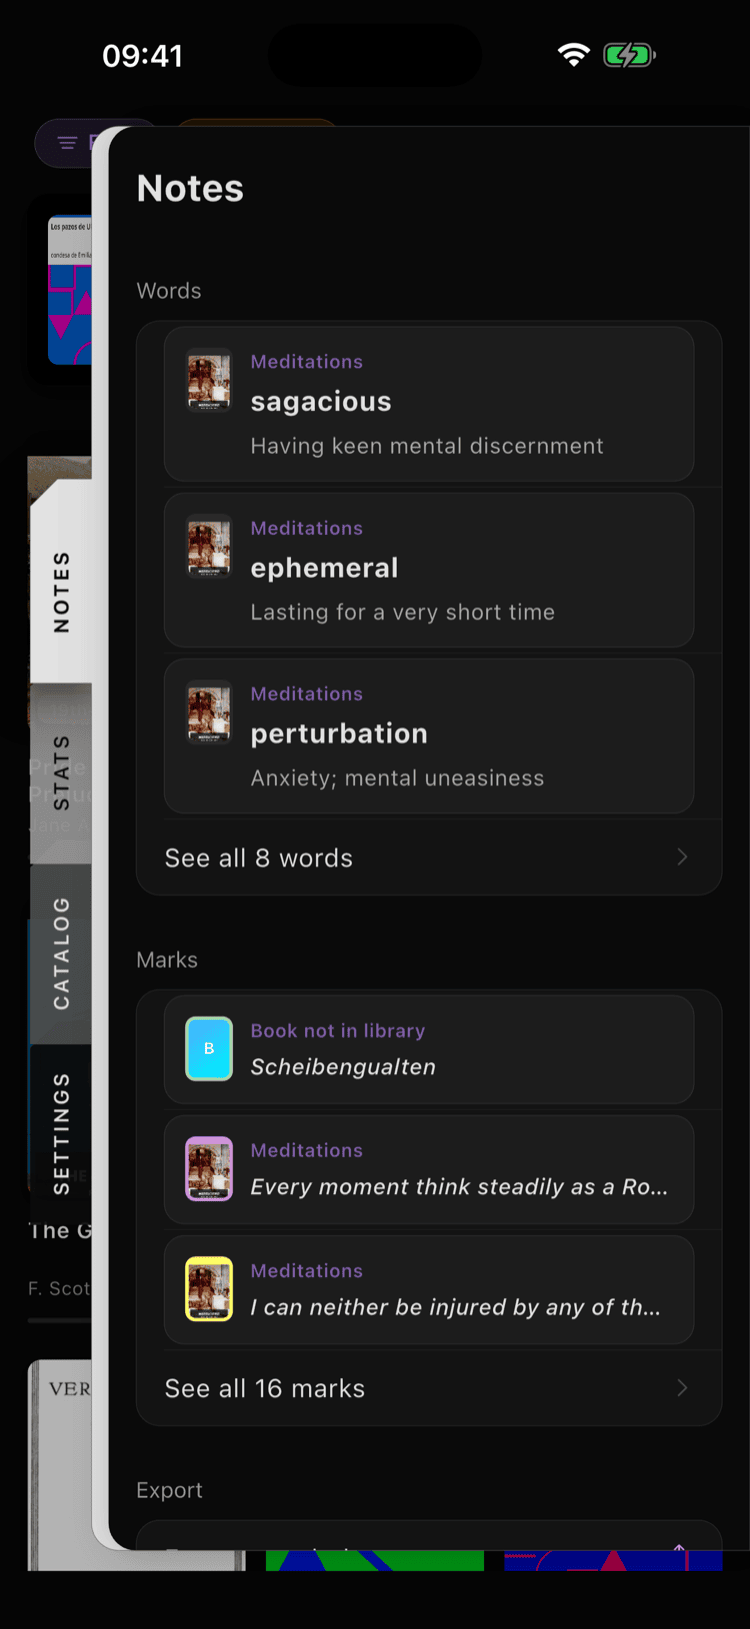
The Marks List (Cross-Book)
Every highlight and note across every book — one place, no digging. This is where scattered marginalia becomes a reading record you never had to sit down and write. It lives in the Notes panel, one of the four panels that slide in from the right edge of the screen.
Getting There
Swipe in from the right edge (or tap the right-edge handle) to open the panel stack, then open the Notes panel. Under Marks you'll see your most recent highlights; tap See all to open the full Marks list.
(Bookmarks aren't here — they live inside each book, in the reader's Contents sheet under the Bookmarks tab. The Marks list is highlights and notes only.)
How It Works
The Marks list gathers your highlights from every book and groups them by book, each section under the book's cover and title. Newest highlights come first within the whole set.
Each row shows the highlighted text, a note if one exists, the color, and — when you're looking across more than one book — which book it came from. Tap any row to jump straight to that passage in the reader.
Seeing a philosophy highlight next to a novel highlight next to a textbook highlight is the point. Open it after a few weeks of reading and you'll see something unexpected: a map of your attention across every book you've touched.
Filtering
Book filter chips appear as a horizontal scrolling row when you have highlights in more than one book. Tap a book to filter; tap again to deselect. "All Books" resets.
Color filter chips appear below — five colored dots matching the highlight colors, plus "All."
Filters compose together. You can narrow to "only blue highlights in Moby Dick" with two taps. This is where a consistent color-coding system pays off.
Search
Tap the search icon to toggle a search field. Search is real-time (results update as you type), case-insensitive, and searches both highlight text and note content. It composes with active filters — search within your already-filtered set.
When you remember the idea but not the page, this is where you go.
Removing
Swipe any row to remove it. A brief Undo appears in case you didn't mean it, and removed items wait in Recently Removed (also in the Notes panel) before they're cleared for good — so a slip of the thumb isn't permanent.

Exporting Your Annotations
Your highlights belong to you, not to the app. Get them out wherever your thinking lives.
Copy One Highlight
The fastest path is the smallest one. In the reader, select a passage and tap Copy in the selection menu — the text lands on your clipboard, ready to paste anywhere. No screen to open, no format to choose.
Export Everything as Markdown
To pull out your whole library's annotations at once, go to Settings ▸ Data Management (the Settings panel is in the right-edge panel stack) and tap Export Annotations. ScrollWizard builds a single Markdown (.md) file — highlights as blockquotes, notes inline, grouped by book with chapter references, your bookmarks listed alongside — and hands it to the iOS share sheet. From there, drop it into Files, mail it to yourself, or send it to a notes app.
Highlights export in book order (by chapter), not creation order — even if you highlighted chapter 10 before chapter 3. (The same screen's Export All Data makes a full JSON backup of everything; that's a backup, covered below, not an annotation export.)
Knowledge Export (Obsidian / Notion / Logseq)
When you want files shaped for a specific tool, ScrollWizard has a dedicated Knowledge Export screen. Open the Notes panel from the right edge and tap Export. It writes a file (or one file per book) and hands it to the iOS share sheet.
Five target formats:
- Obsidian — YAML frontmatter + callout syntax. Drop the file into your vault and every field is Dataview-queryable.
- Notion — Property table at the top (Author, Progress, Highlights, Tags) formatted for Notion's database import.
- Logseq — Page properties with
[[double-bracket links]]for tags. Highlight blocks includecollapsed:: true. - Markdown — Clean, generic Markdown. Works anywhere.
- JSON — Structured data with all metadata.
Toggle what's included: book metadata, highlights, bookmarks, notes, chapter grouping. Export a single book or your entire library (one file per book). See the Export Guide for the full walkthrough.
Tips & Tricks
You know the basics. Here's where it gets fun.
Highlight too much rather than too little. You can always filter later. You can't go back and highlight the sentence you wish you'd saved.
Export before finishing a book. When you reach the last chapter, export your annotations as Markdown (Settings ▸ Data Management ▸ Export Annotations) and send the file to your notes app. You'll have a clean summary while the book is fresh.
Check the Marks list periodically. Scrolling through your recent highlights across all books is a surprisingly effective way to reinforce what you've read. It's also where you'll notice unexpected connections between books.
Back up your data. Settings ▸ Data Management ▸ Export All Data writes a full JSON backup of your library data — book details, highlights, bookmarks, reading sessions, themes, and more. (Your actual EPUB and PDF files live in iCloud Drive and back up separately.) Export periodically. Your annotations are never truly at risk.
iCloud keeps you in sync. Highlights and bookmarks sync automatically via iCloud. Start annotating on your iPhone, continue on your iPad. No account needed.
The dictionary is one tap away. The same text selection menu that creates highlights also offers Define — look up a word without leaving the page. Save it and it goes to your personal saved-words list, ready to export whenever you want it. See the Save Words guide for details.
PDF highlighting works too. The PDF reader shows color dots directly in the context menu for one-tap color selection. The flow is slightly different but the result is the same — highlights, notes, bookmarks, export, all of it.
What's Next
You don't need a system to start annotating. Most good systems emerge from use, not from planning. Highlight for a week, then look at what you've got. The pattern will tell you what your system is.
Everything above is yours — free, unlimited, exportable. Your books remember what you noticed.
- Saving words from your reading? The Save Words guide picks up where highlighting leaves off.
- Moving annotations into your workflow? The Export Guide covers every destination and format.
- New to ScrollWizard? The Getting Started Guide covers the basics.
Happy reading — and happy annotating.